About a week ago Bhargav started working on a bluetooth controlled car. It was inspired by this instructable. It consisted of four motors connected to a mechanix frame. If you don't already know what mechanix is, it is a kids toy used for building structures using nuts and bolts.
 |
| Mechanix. If you haven't used it as a child, you're probably nuts. |
To this he attatched a 12V battery to power the motors and a L293 H-Bridge motor driver IC. And he used an Arduino Uno along with a bluetooth module for controlling it. He used a 9V battery to power the Arduino. It looked something like the picture below.

Now lets look into a few details before we proceed. First, the L293. The L293 is a motor driver used to control the direction of rotation of motor rotation using digital signals. That means that by using the digital output pins of the Arduino you can control the motor. It works with two digital inputs for each motor, and it can control 2 sets of motors independently. You can also have a separate power source for the motors (we used the 12V one).

A and B refer to the digital inputs.
The basic idea that shines here is the you can change direction of the motor digitally.
What we did was we tied up two motors together, both the left ones and both the right ones, so that they can be controlled simultaneously. So if we wanted to turn the vehicle to the right, we would turn only the left motors or vice versa. One limitation with this usage that we noticed was that we cannot move and turn simultaneously. It has to move, stop and only then turn.
Now lets look into the control. We used the bluetooth module, the same one we used in Ayana '12 along with this Android app called Blue Control available for free in Google's Play store. It is a very simple app which has direction buttons and a bunch of other buttons.
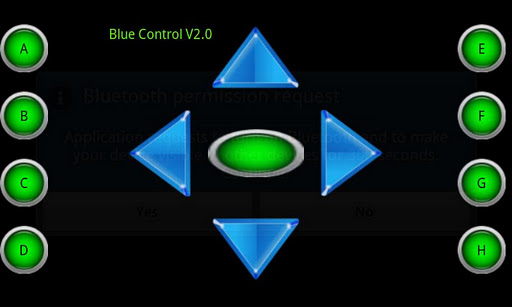 |
| The center button actually opens a Blue portal. The orange one is in Narnia. |
When you pair your phone with the bluetooth module, it sends certain ASCII characters to the bluetooth module which can be serially recieved by the Arduino. The ASCII character which is sent depends on the button which is pressed on the app.
So what our Arduino code should basically do is receive these serial signals and send appropriate signals to the motor drivers such that they activate the right motors.
Its that time again, time for a block diagram.
Its that time again, time for a block diagram.
 |
| A picture says a thousand words, this block diagram says sixteen. |
One major problem we ran into was, after a couple of minutes of neck breaking speeds the motor driver would heat up. And this would cut off supply all motors due to its automatic thermal shutdown feature.
We decided to pick up the L298 motor driver instead because it seemed to have better thermal stability and a heat sink as well.
The only disadvantage with this was that it was only available in a Multiwatt-15 package as opposed to a dual-inline package. We took more than three hours trying to fit this thing onto a breadboard and trying to make it work without any loose connections but to no avail.
 |
| The L298 Multiwatt package, breadboard's arch nemesis. |
DIY Dinner.
We decided to take a break for dinner and went out shopping for instant noodles which we usually buy on all-night soldering parties like this one.
But instead we decided to make something a little more interesting so we bought:
 |
| There is something magical about eggs. |
- Mozzarella cheese
- One loaf of whole wheat bread
- Mushrooms
- Half a dozen of eggs
- Maggi Pizza sauce
 |
| That is a killer knife right there. |
What kind of a hideous dinner we made from these you ask? We made some ommlettes and bread pizzas. Its quite simple actually, you just pretend your bread slices are the pizza base and top it like you would a regular pizza. We bought whole wheat bread because we are health conscious. No, really.
Anyways we sauted the mushrooms and some onions before putting them on the pizza. We put them in the oven for about 15 minutes and we had lovely bread pizza.
 |
| Don't try this at home. |
 |
| Before. |
 |
| Artistic oven shot. |
 |
| After. |
We did a little experimenting with the omlettes too. We made cheese omlette with mushrooms and herbs. Check it out.
 |
| Mushroom omlette. With Shyam's secret recipe that no one will know. |
 |
| Cheese omlette with herbs. |
Revival.
Well we spent a good three hours in the kitchen, and we were tired and full so we decided to turn in. But Bhargav decides to try the circuit out one last time before that. And as we listened to some Color Haze we suddenly hear the whirr of the motors, it finally works!
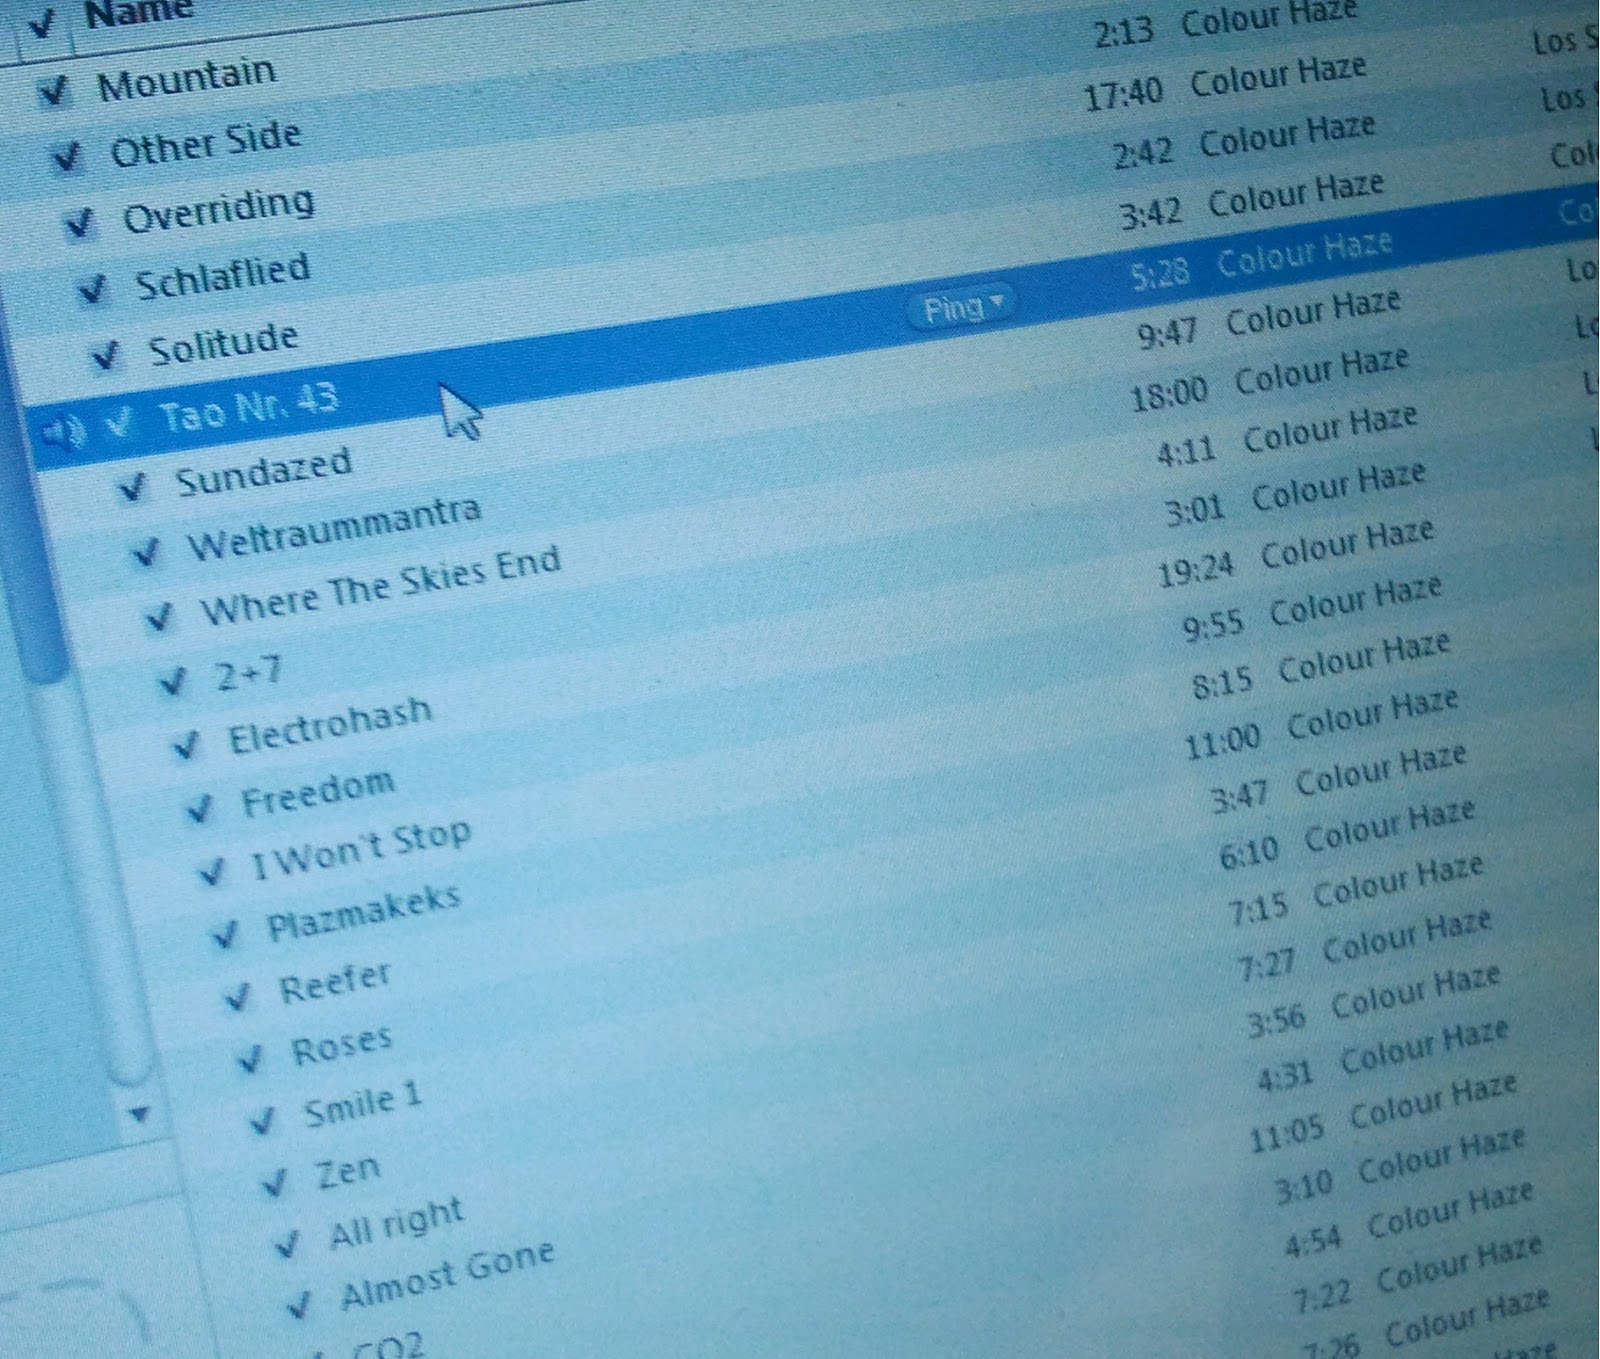 |
| We are not superstitious. We really aren't. |
Anyways this got us really excited so we decided to shoot some videos of it and do a couple of test runs on the street. We taped a camera onto it to get a first person's view.
And who doesn't love blue LEDs? So we decided to include a blue LED into the circuit, for *ahem* better vision.
 |
| This is how it looked with the camera taped on it. |
 |
| You can never go wrong with a blue LED. |
All of this leads up to the video we are making of it. We decided to call it Mastodon 1.0. (Why? Because Mastodon is awesome).
You can see the trailer here.
Stay tuned for the actual video.
P.S. - The Arduino code we used is here.
 |
| To a web browser near you. |
-Akshay
No comments:
Post a Comment